

I created this kitchen using a few old bedside tables. The wooden ones needed to be sanded down and painted. The middle one was already white. A friend of mine painted stove burners on the top of hers. I decided to use black paper circles and clear contact paper (also called sticky back plastic).

I also created an "oven," and dials.

My cooker/stove is called "Hotspot" and the fridge is called "Frigi," which means "fridge" in Swahili.

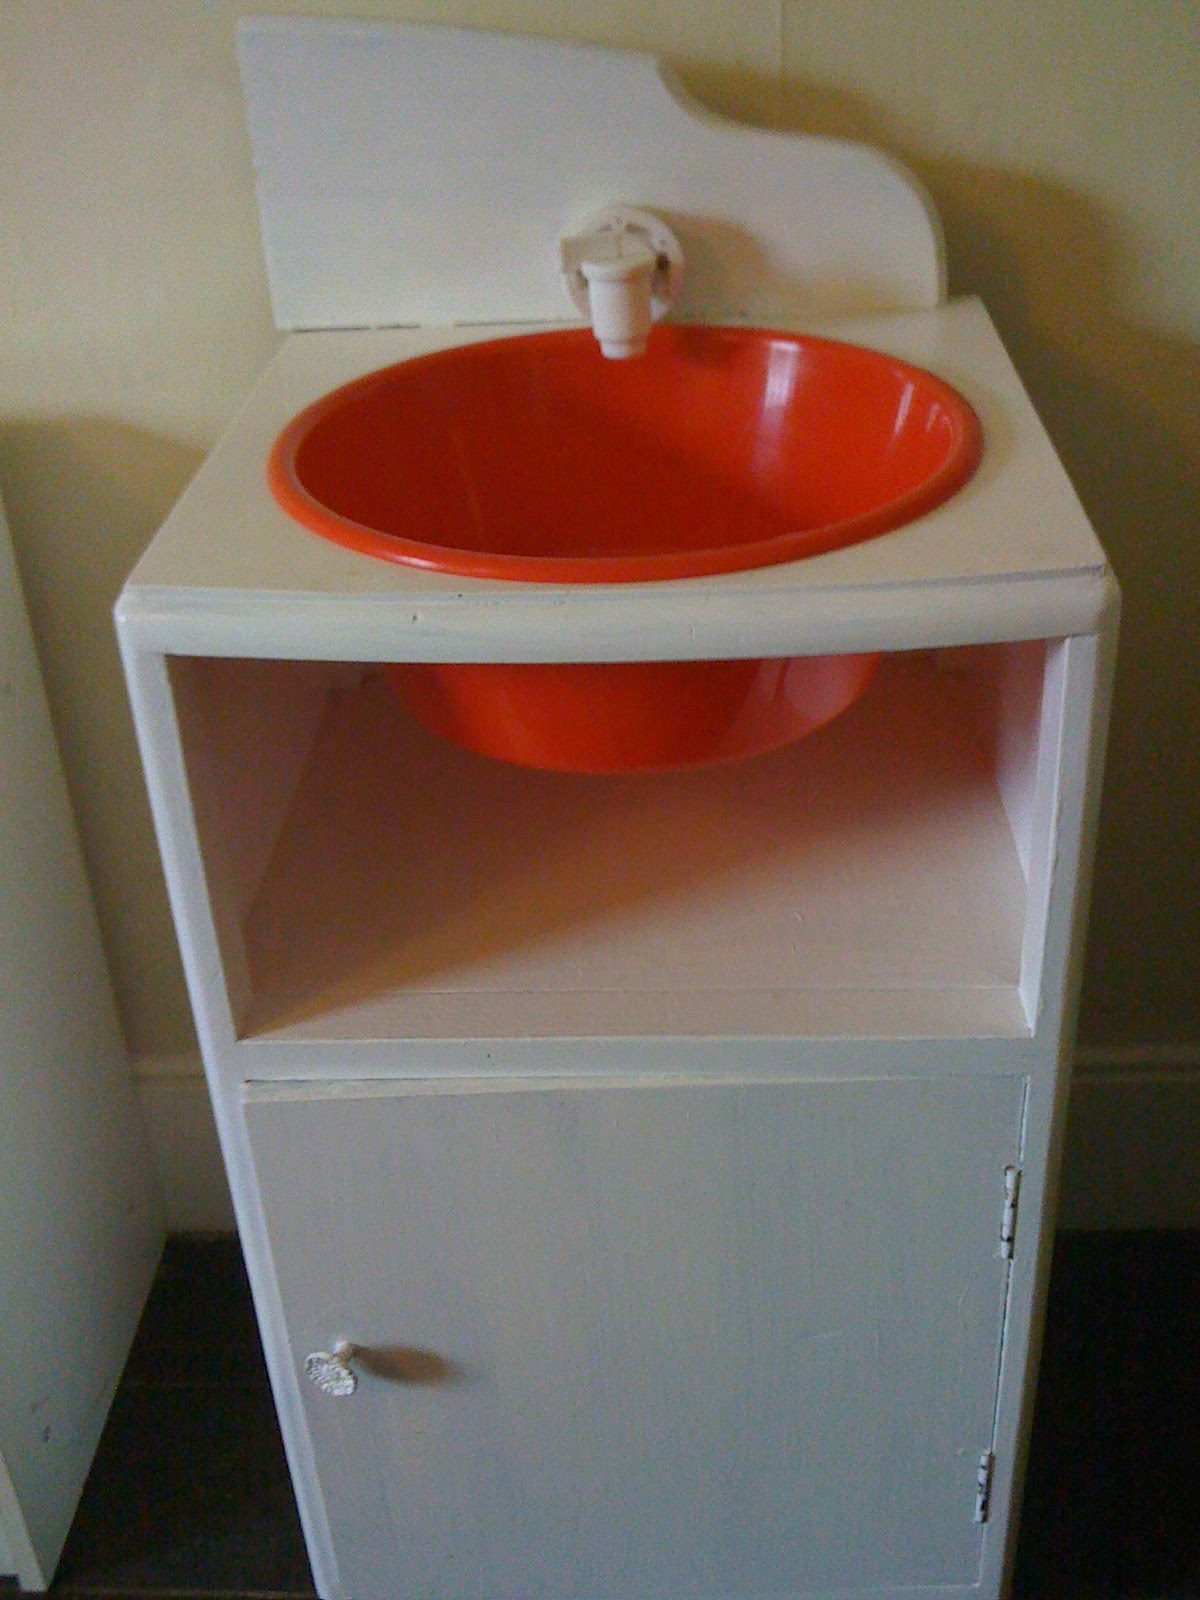
The trickiest bit was the sink. I asked a friend for help. He used a jigsaw to cut out a hole which would fit the basin I had. He also found an old spigot in his workshop and attached it with No More Nails I think. I was going to use a pipe or a block of wood until he found that. You can get spigots in places like Wilkinsons where they sell wine making equipment.
I haven't quite finished the knobs on the stove top. I have collected 6 bottle caps from soda water and intend to fix them on with nuts and bolts, so they turn. Of course I have been planning to attach them for two years now.
I think this cost about £10 for the paint. I had the bedside tables already, looking old and worn. Oh, and £1 for contact paper which looks like a wood countertop.
I love these units! They look better than most children's kitchen playthings I see and make environmental/economic sense. Well done.
ReplyDeleteI have always loved those wooden play kitchens, but they are usually expensive and often pink! I nearly made this set in a green to match my kitchen, but white seems a bit more versatile for any room in the house.
ReplyDeleteI have so many plastic toys which have broken or fallen apart, so I am glad that I put in the effort to make these.
Wow! that looks great!
ReplyDeleteThanks a lot!
ReplyDelete